
Yesterday I lit up my new wood stove for real for the first time! The final parts and pieces we were waiting on finally arrived on Monday. That evening, I got everything ready, and yesterday my friend helped me put everything together.
In case you missed my last few posts, my new wood stove is a Mini CT12 from Grey Stove Works. I decided to add a wood stove to my house for several reasons. First, I have access to plenty of free firewood right around my house thanks to lots of standing dead trees, many of them beetle killed. Removing them helps lessen the wildfire danger in the area. And this is certainly cheeper than buying propane. A wood stove does not require electricity and my vented propane heater does to run the fan. So this will greatly lessen the drain on my battery bank in cold weather and thus the amount of gas I buy for my generator to top those batteries off on short and snowy winter days. Lastly, wood heat produces a very dry heat, helping out greatly with reducing condensation and the resulting mold issues that tend to plague very small spaces. So, I decided a small wood stove would be a great addition to Fy Nyth.
Here's a short video tour of my first fire burning, and some details on installing the stove. Below, there are a lot more photos and a description of the whole process.

The stove is set up to use standard 3'' pellet pipe. The two main brands seem to be Dura Vent and Selkirk and they both seem to be good. I went with Selkirk just because I was more easily able to source all the parts I needed from them from where I live. Above and below you can see what the pipe looks like.
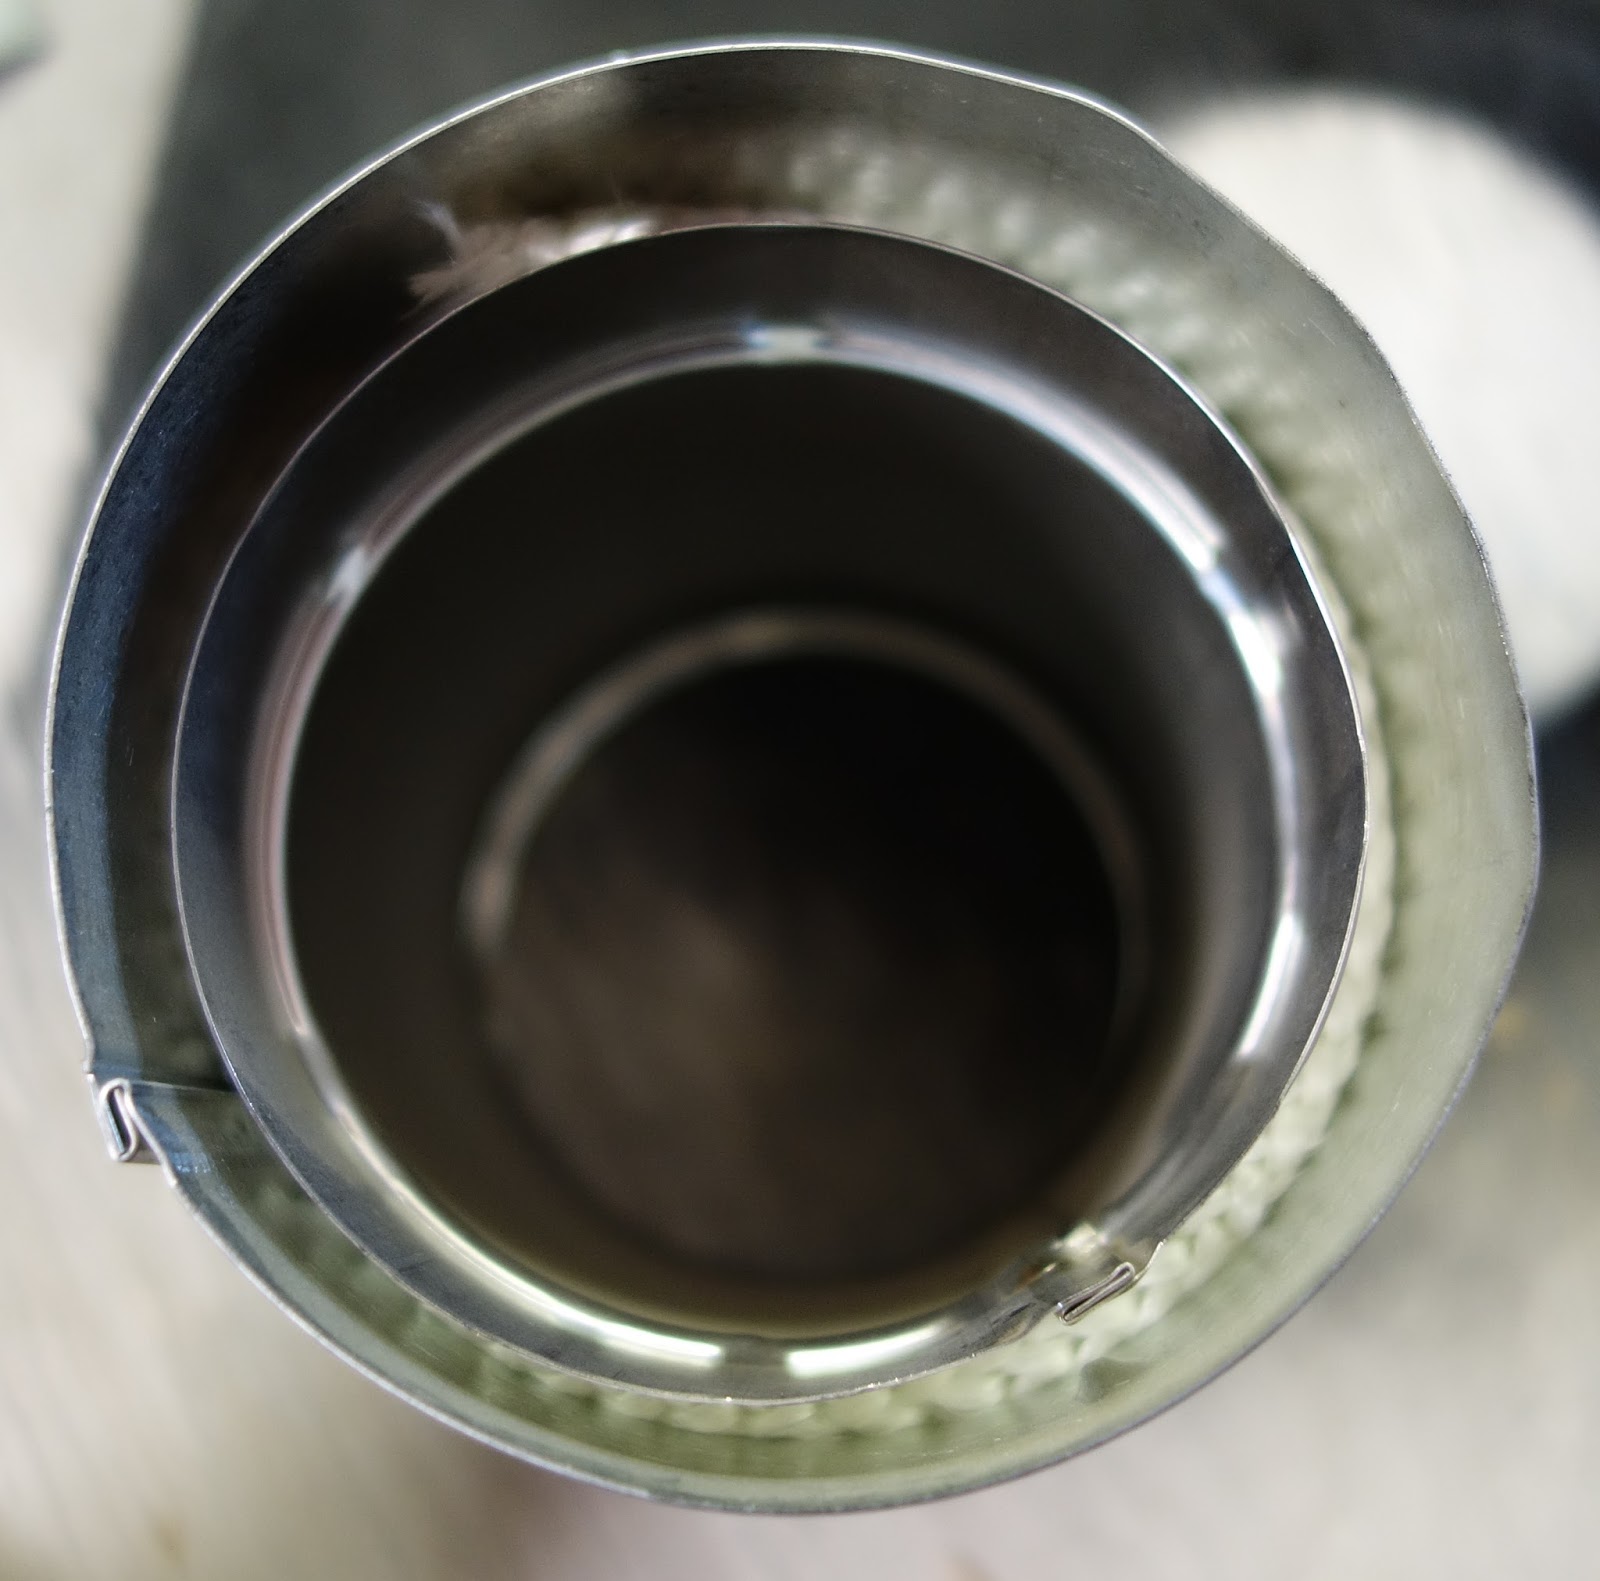
It has a double wall and fire braid set inside each connection. All the parts were silver, but I wanted them to all be black just because I didn't like the look of silver pipe coming out of a black stove.

So I bought a couple of cans of heat safe black spray paint and used my friend's shop to change the color on all the pieces.

Next I needed some kind of fire shield to protect the walls around my new stove. My local welding shop made this shield for me. It is made from 1/8 inch steel and weighs enough to be very stable all on it's own as a free standing piece.

It's up on small feet that allows air to pass under it keeping the heat moving and preventing anything behind it from getting too hot. And the L shape on the edges holds it out from the wall, again so that nothing nearby can get too hot. I forgot to snap a photo, but I did spray paint this whole shield black as well.

Next, I needed a hole in my wall for the stove pipe to pass through. Even though I've now had several holes drilled through my wall for things like a new propane line and the cables coming in from my solar panels, it's always a little scary to put a large hole in a perfectly good wall. I could have gone through the roof instead, but in my experience, any kind of a hole in a roof eventually develops a leak and I wanted to avoid that possibility.

Here you can see the hole for the wall thimble being cut out from the interior of the house.

Look at all that great spray foam that makes my house so cozy and tight!

After repeating the process on the outside as well, I had a huge hole in my wall!


Here you can see the thimble installed. It allows the pipe to pass through the wall but keeps all combustibles far enough away to be safe. Hence the large hole in the wall.

All the pipe parts snap together. It is a bit hard to do this, but once put together, the joint is very secure.

Here you can see that thimble from the outside and the pipe running up above the roof to get a good draft going. Drilling the hole and putting everything together took less than two hours.

Now it was finally time to light it up! So I stacked my wood in there and used a bit of newspaper to ignite the pile. It started up with just one flick of a lighter.

It took off right away and has been burning great since a few seconds after we finished the installation.

After a bit more than one day of use, I will do an update with my thoughts on actually using it and a full review of it's performance. So far, I like the little baby a lot!