
Ok. I had great intentions to answer many of the wood stove related questions I've been asked a long time before now. But here you go! I'm experimenting with putting most of the content in video form. As I look at the stats of what you all view, it seems many people prefer videos to written words and photographs. I prefer the later, but I seem to be in the minority. And recording a video is hours faster for me than writing out the same info. So let me know what you all think!

And if you, like me, prefer photos, don't worry. There will still be lots of those since that is what I prefer.!

In this shot you can more clearly see where that metal plate I showed you in the videos sits in the bottom of the stove between the firebricks.

And the now burning fire obscures this a bit, but you can sort of see how the edges of the metal plate we added do not go quite the whole way to the edges inside, allowing air to flow out from under it and feed the base of the fire.

The fire braid that we stuffed in the space around the door that had been created for it.

This shot just let you see what the chimney looks like on the exterior of the house.

Above, just a nice glowing hot fire. And below, you can see how if you look up to the top inside of the stove, the flames curls up around and into the baffles that help thoroughly burn (more of) everything in the smoke before it heads up the chimney.


Here's what my pipes did look like the first time I pulled them apart. That is a lot of creosote plugging them up!


Using this little torch, we burned out all that buildup.

Once lighted, there was plenty of buildup in there to burn for a little while.


After it burned out, here's how much drier and flaky all that build up became. At that point, I was able to brush it out with a chimney brush.

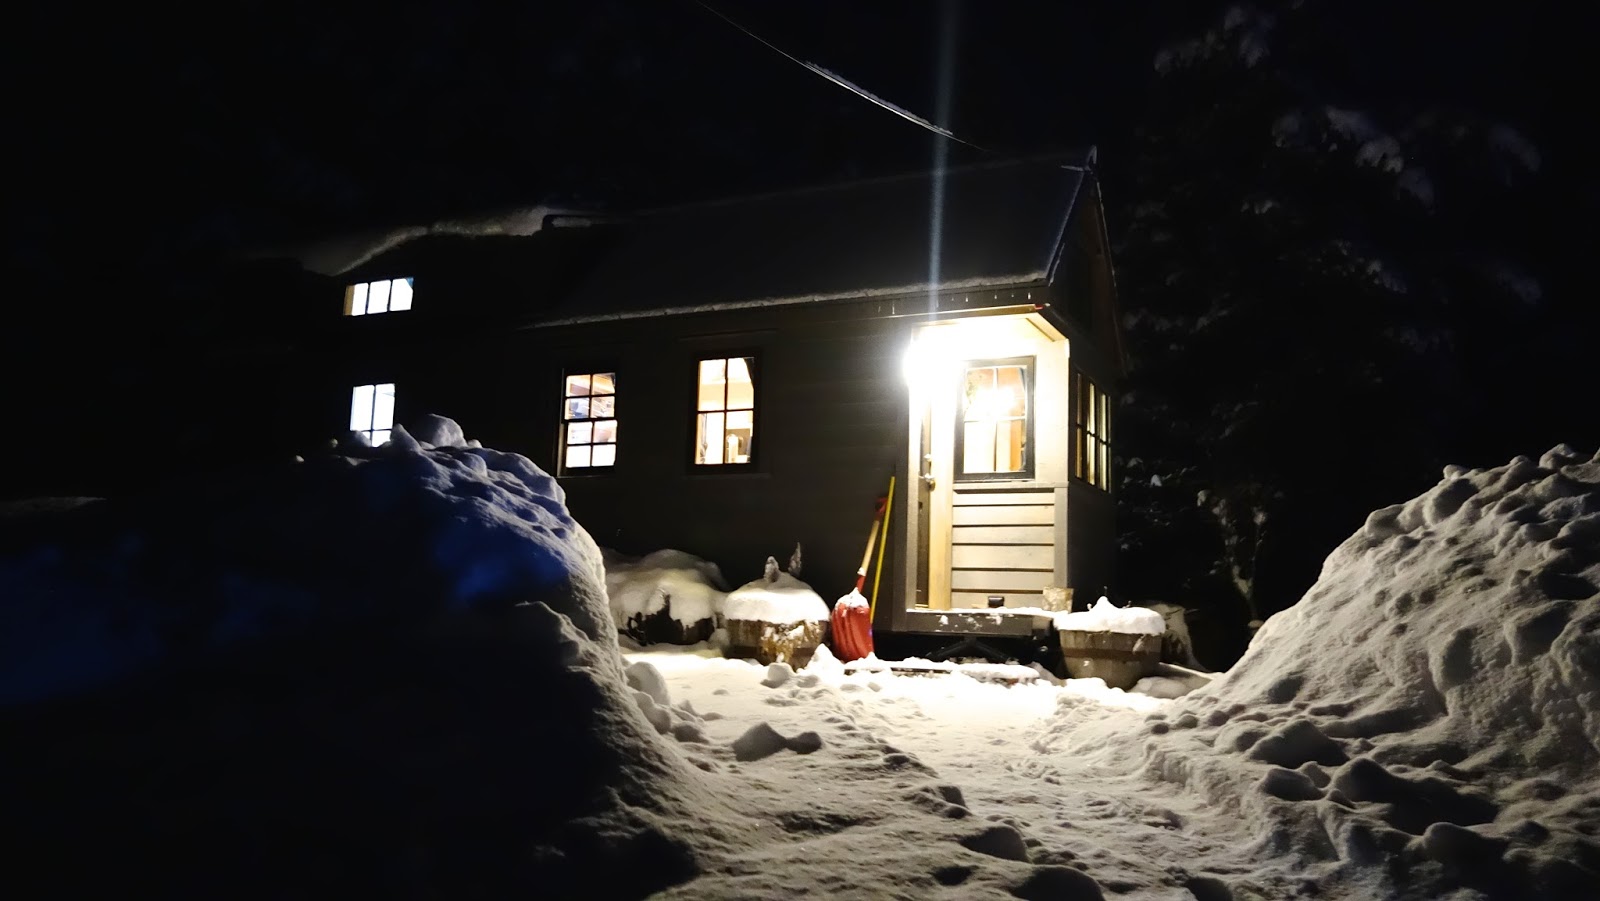
In case you forgot why I have a wood stove? Here's two shots of my house last winter. This time of year is rapidly approaching again!
